How to Create a Chat App with Laravel Chatify: A Step-by-Step Guide
Laravel is one of the most popular frameworks of PHP, as it comes with security and scalability. Whether you want to create an online e-commerce store or a real-time chat application, this framework is the perfect solution for all your needs.
Laravel gives robust support for real-time communication, as it uses the Event Broadcasting system, which leverages the WebSocket protocol.
In this blog, we'll cover everything about Laravel Chatify. Laravel Chatify is an open-source Laravel system package that provides a real-time chat communication system. We will cover what the requirements are, the installation process, and pusher setup.

What is Laravel Chatify?
Laravel Chatify is one of the most popular Laravel packages used for real-time chatting and one-to-one communication. The user interface of Laravel Chatify is similar to Instagram and Facebook Messenger. It provides a responsive interface, so you do not worry about the responsive interface.
Why Choose Laravel Chatify?
- Real-Time Messaging via Pusher
- Beautiful, responsive UI that works on mobile and desktop
- Easy integration with existing Laravel auth systems
- Fully customizable views and styling
- Open-source & community-maintained (GitHub:
munafio/chatify)
Prerequisites of Laravel Chatify
Before getting started with Laravel Chatify, make sure you fulfill these requirements:
- PHP ≥ 8.0
- A working Laravel application (Laravel 8 or higher is recommended.)
- Composer installed
- MySQL or any another supported database.
- A free Pusher account
- A Laravel authentication package like Breeze, Jetstream, or Laravel UI
- Basic Laravel knowledge (routes, auth, migrations)
Step 1: Install Laravel Chatify
First, let's create a Laravel project and install Chatify using Composer.
composer create-project laravel/laravel chat-app
cd chat-app
composer require munafio/chatify
Step 2: Publish Chatify Assets
Now we will run the chatify:install command to install the chatify assets. This command will publish most of the necessary assets, like configuration, views, migrations, etc., and create a storage symlink.
php artisan chatify:installViews will appear in resources/views/vendor/chatify/—ready for customization.
Step 3: Set Up Pusher for Real-Time Messaging
- Go to pusher.com and sign up using Google or GitHub.
- Go to the Pusher channel dashboard
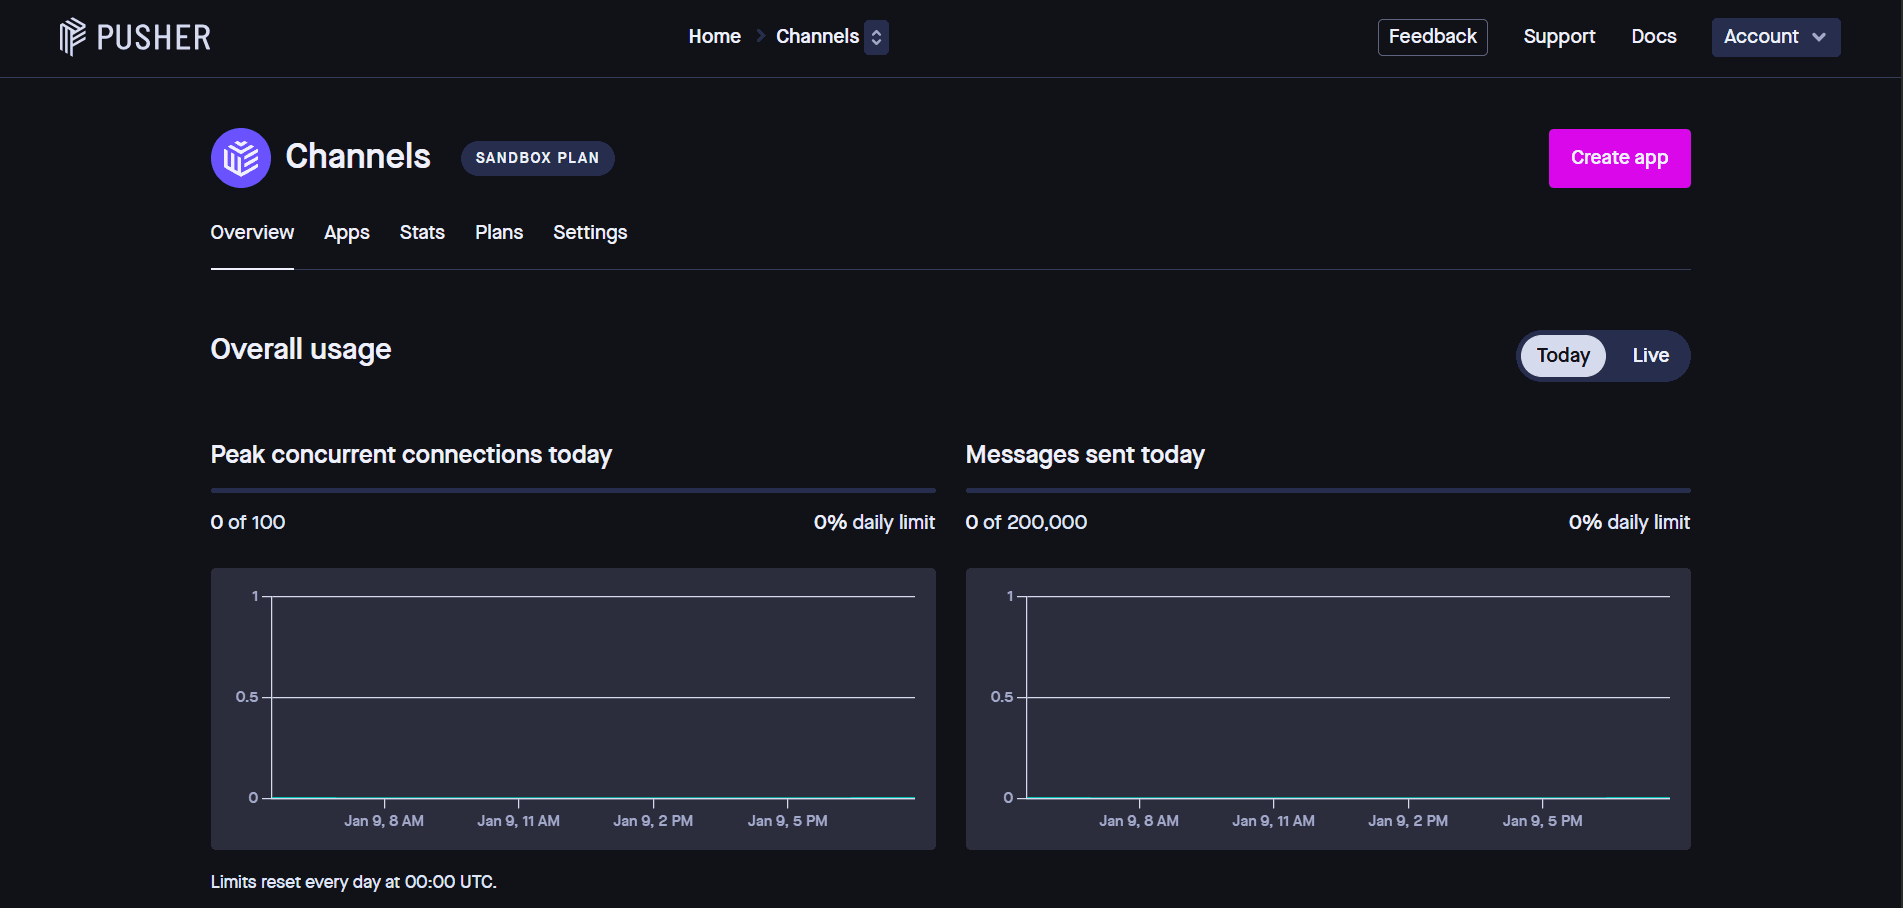
- Click on the Create App button, and a modal will open
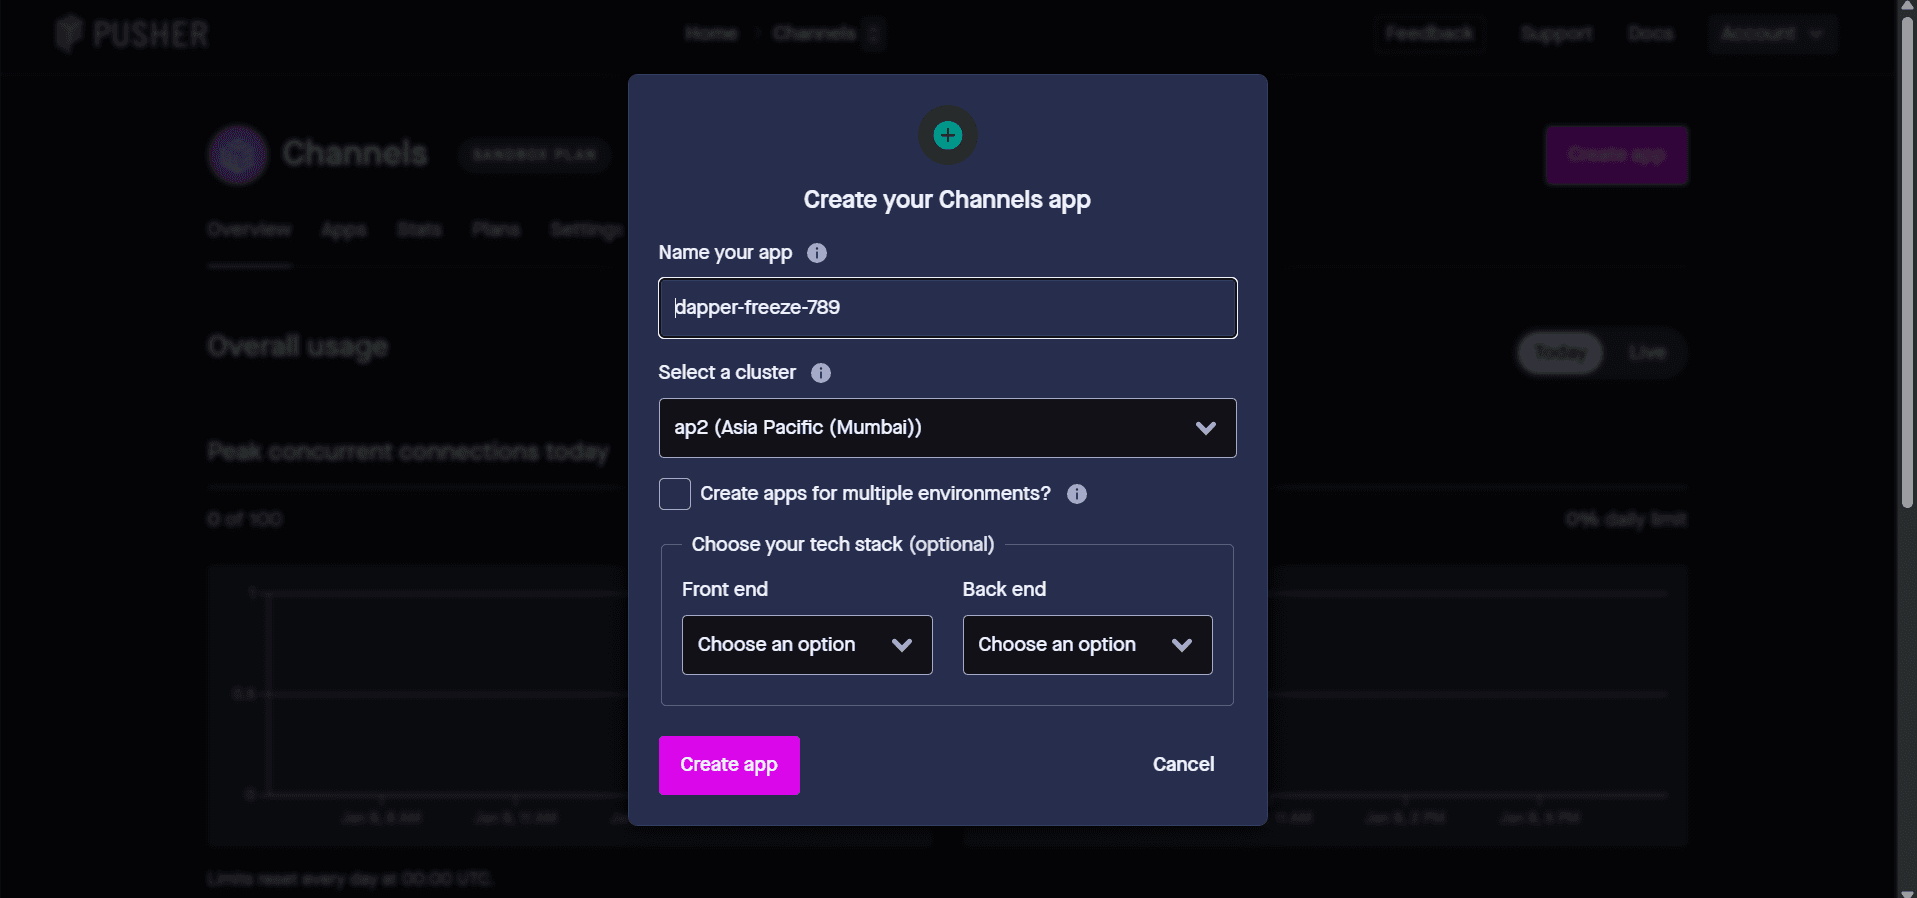
- Give a name to your app
- Select a cluster
- Choose your tech stack for the front end and back end
- Now Navigate to App keys and Copy your App ID, Key, Secret, and Cluster.
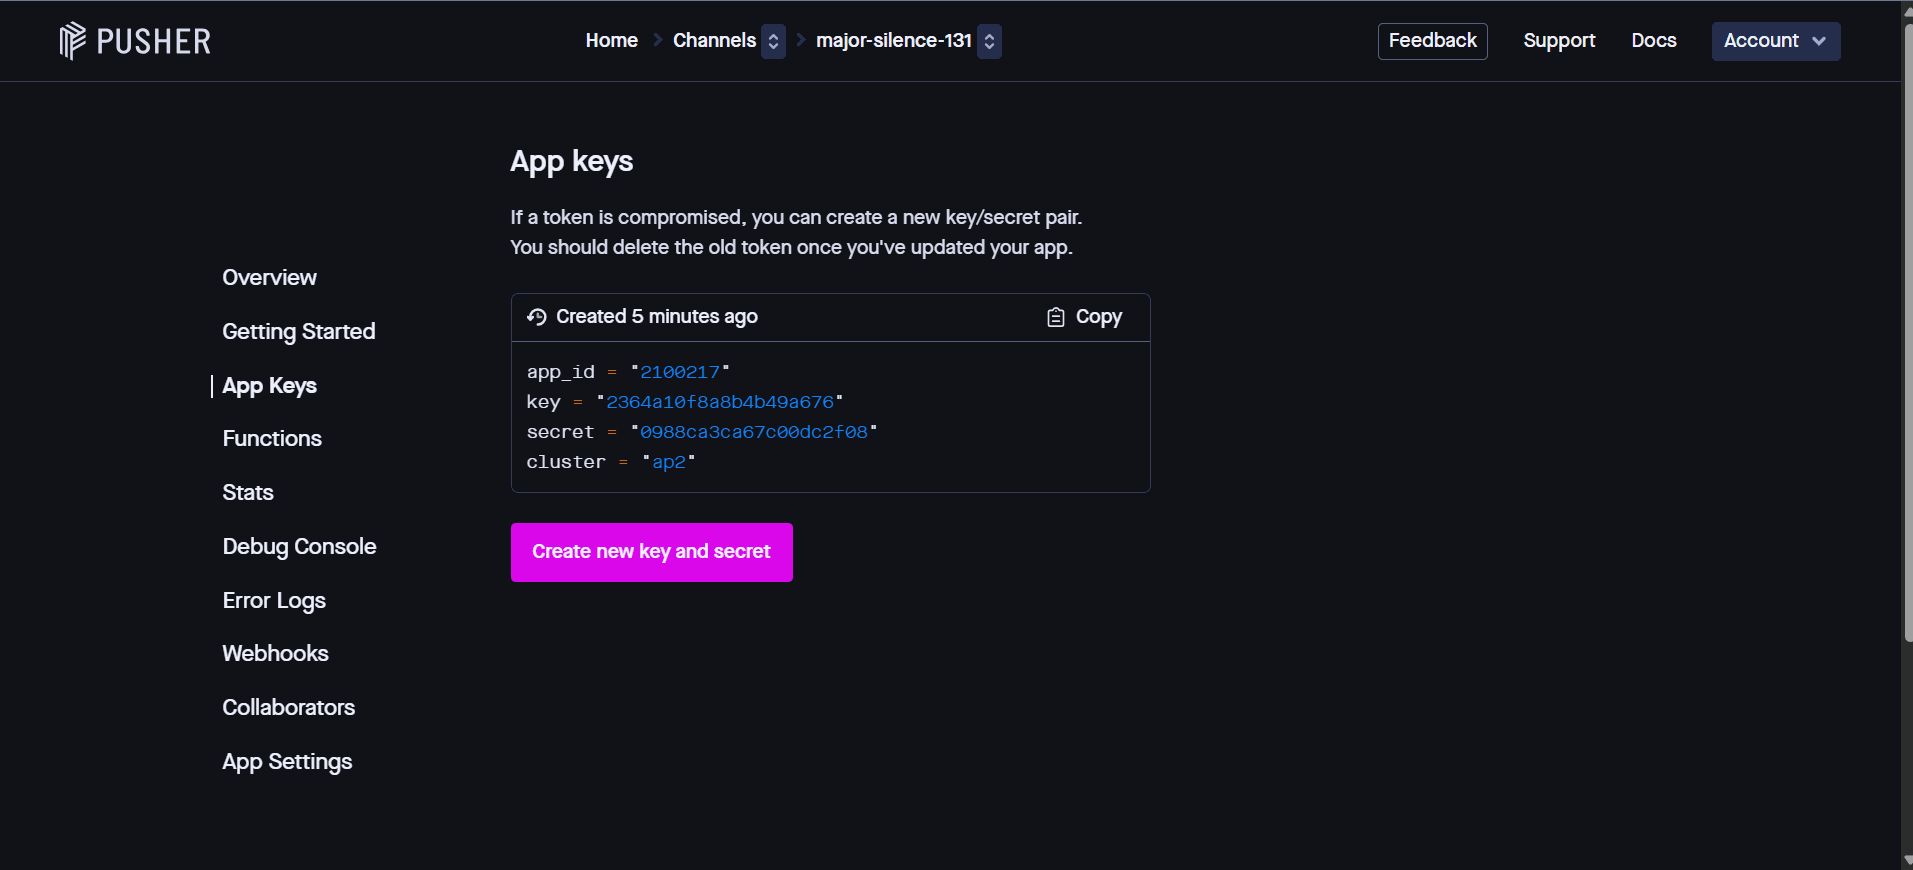
- Update your
.envfile:
BROADCAST_DRIVER=pusher

PUSHER_APP_ID=your-app-id
PUSHER_APP_KEY=your-app-key
PUSHER_APP_SECRET=your-app-secret
PUSHER_APP_CLUSTER=your-app-cluster
Then, reload your config:
php artisan config:clearStep 4: Run Migrations
Chatify creates tables for messages and metadata:
php artisan migrateStep 5: Configure Routes
Add this to your routes/web.php:
use ChatifyFacadesChatify;

// Optional: Register Chatify routes (usually auto-registered)
Chatify::routes();
✅ Note: The chatify:install command usually auto-registers routes via a service provider.
Step 6: Add Chat Link to Your Application
You can link the chatify dashboard in blade layout like navbar or any where else using this :
@auth
  <a href="/chatify" class="btn">Messages</a>
@endauth
Make sure you have setup the authentication as only authenticated users can access this
Step 7: Customize the Chat Interface
All views are editable in:
resources/views/vendor/chatify/You can:
- Modify colors, layout, and icons
- Add emojis, file uploads, or typing indicators
- Override CSS by including your own stylesheet after Chatify’s
Step 8: Test Your Chat App
- Start your dev server:
php artisan serve - Log in as two different users (use incognito mode)
- Visit
/chatifyand start a conversation - Messages should appear in real time!
Step 9: Deploy to Production
- Update Pusher credentials in your production
.env - Run
php artisan migrate --force - Ensure
BROADCAST_DRIVER=pusheris set - Compile assets:
npm run build
Tips for Optimizing Your Laravel Chat App
- Use caching for user avatars and frequent queries
- Index database columns like
from_id,to_id - Monitor with Laravel Telescope to track broadcast events
- Consider Laravel WebSockets if you want to avoid Pusher
Conclusion
Laravel Chatify makes adding real-time chat to your Laravel application fast, easy, and scalable. With minimal setup, you get a production-ready messaging system that integrates seamlessly with your existing auth and UI.
Whether you're building a customer support portal or a social network, Chatify gives you the foundation to deliver a modern, engaging user experience.
Ready to chat? Install Chatify today and bring your Laravel app to life!
Frequently Asked Questions
Related Articles You May Like
- Laravel API Example: Creating Efficient Endpoints
Laravel • Advanced
- Laravel Tips and Tricks: Hidden Features Most Developers Miss
Laravel • Advanced
- How to Debug Laravel SQL Queries in API Requests: A Developer's Guide
Laravel • Intermediate
- Setting Up Gmail SMTP in Laravel: A Comprehensive Guide
Laravel • Intermediate
- Mastering Laravel Login System: A Comprehensive Guide
Laravel • Intermediate
- Understanding Laravel Directory Structure: A Beginner's Guide
Laravel • Beginner